Japanese anime has played an important role in my life. As a child, the highlight of my day was rushing home from school to catch episodes of my favorite Japanese cartoons on TV. From Digimon to Pokémon, Chibi Maruko-chan, Crayon Shin-chan, Cardcaptor Sakura, to Saint Tail, these were not just shows, but my childhood companions. Through these characters and their adventures, I learned about courage, friendship, and growth. I laughed and cried along with them, experiencing a spectrum of emotions that transcended the screen.

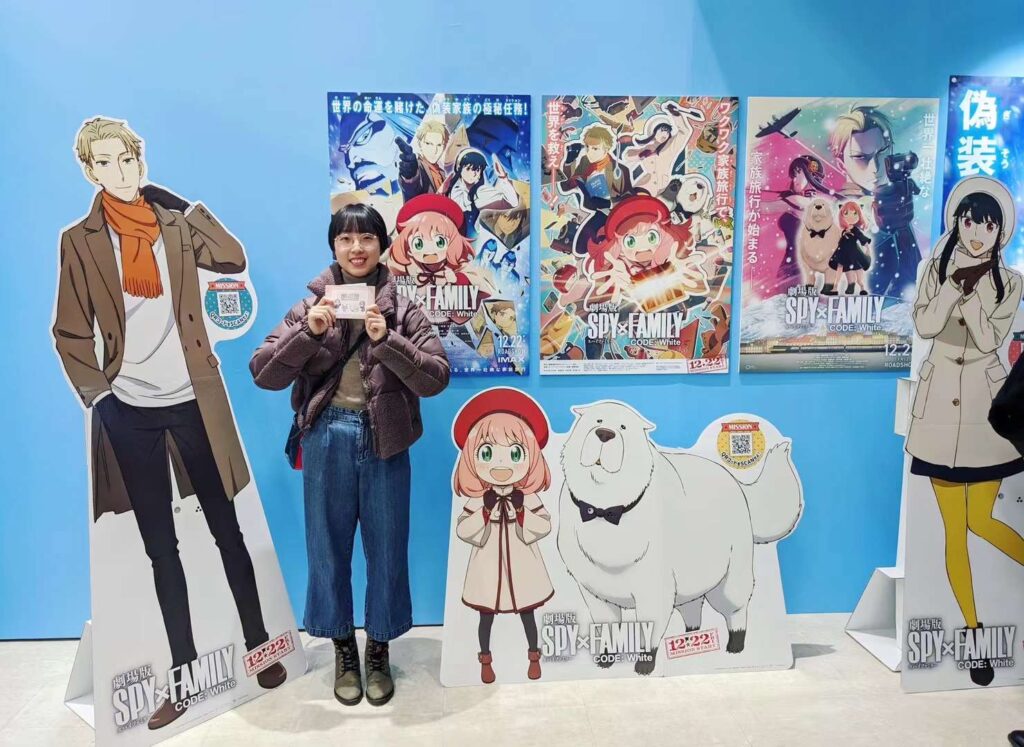
I never considered cartoons to be just for kids. As I grew older, anime remained a steadfast presence in my life. The emotional depth of the characters continued to move me, providing comfort on tough days. Recently, I have become deeply engrossed in an anime called Spy × Family, which has captivated me completely. I have collected the manga series and even had the delightful opportunity to attend a promotional event for Spy × Family in Tokyo last year. It was an adorable and unforgettable experience!
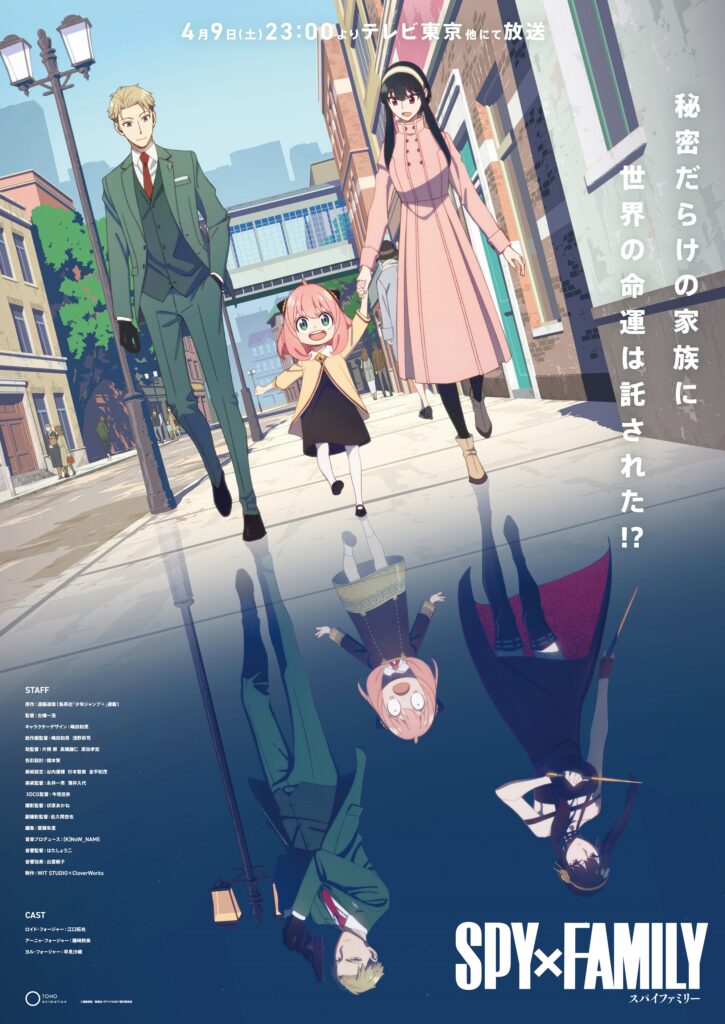
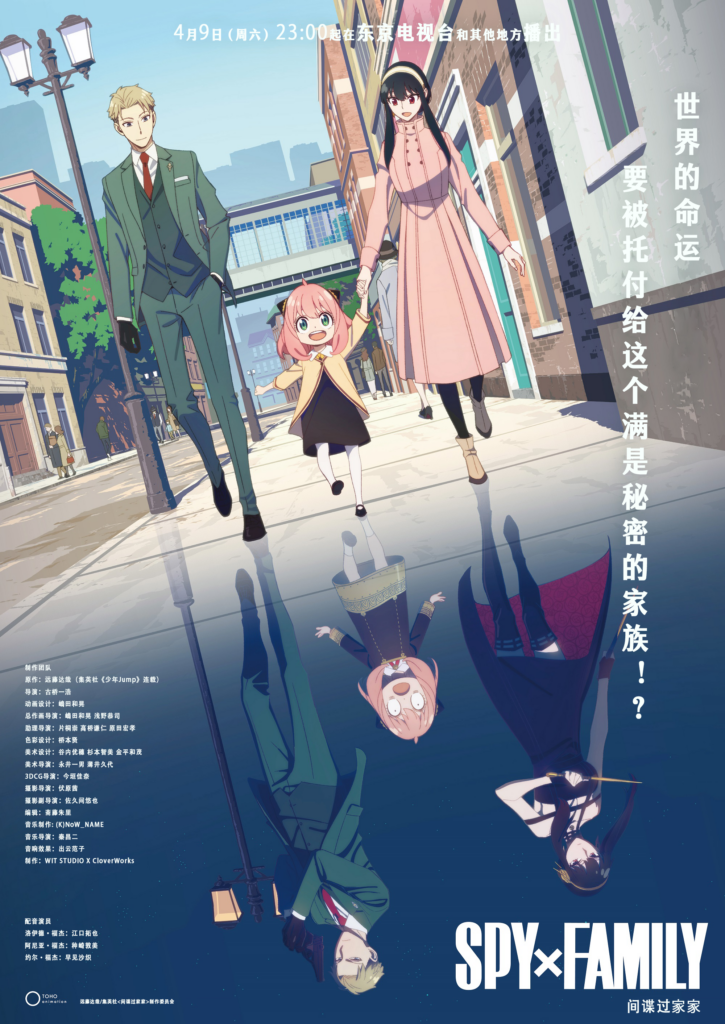
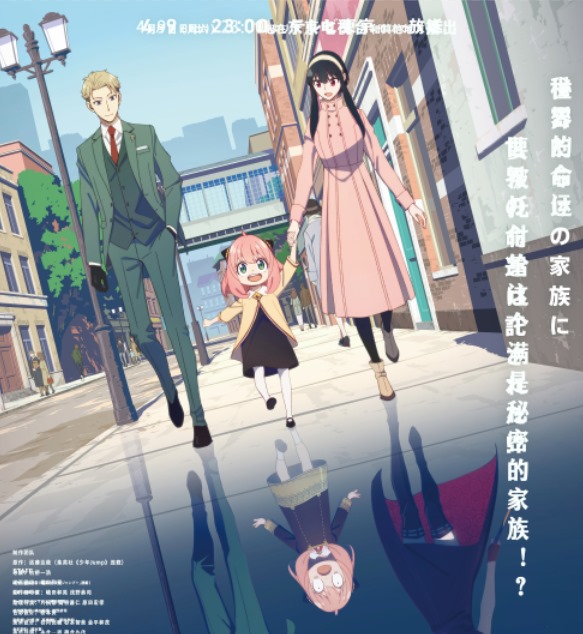
Driven by personal passion, I have decided to utilize my DTP skills to localize Spy × Family poster from Japanese into Chinese, my mother tongue.
DTP stands for Desktop Publishing, which is a specialised branch of localization that combines artistic and technical capabilities with localization to adapt out of game content, particularly in formats with fixed spaces like print, 2D images, or videos.
These are the original and the localized versions of the poster.
In the following sections, I will delve into the detailed process of how I managed to successfully localize the poster.
Localization Process and Timeline
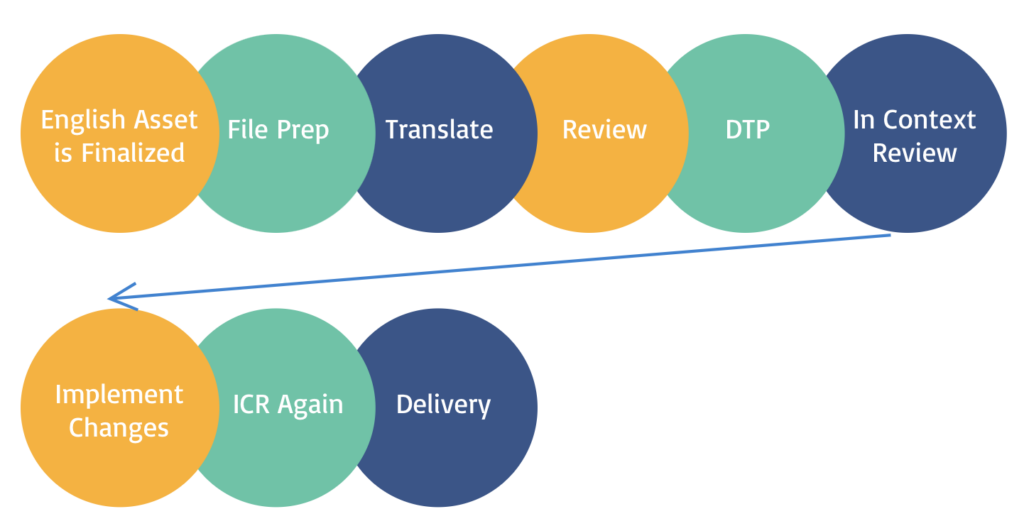
This diagram describes a typical process for localizing posters or static images.
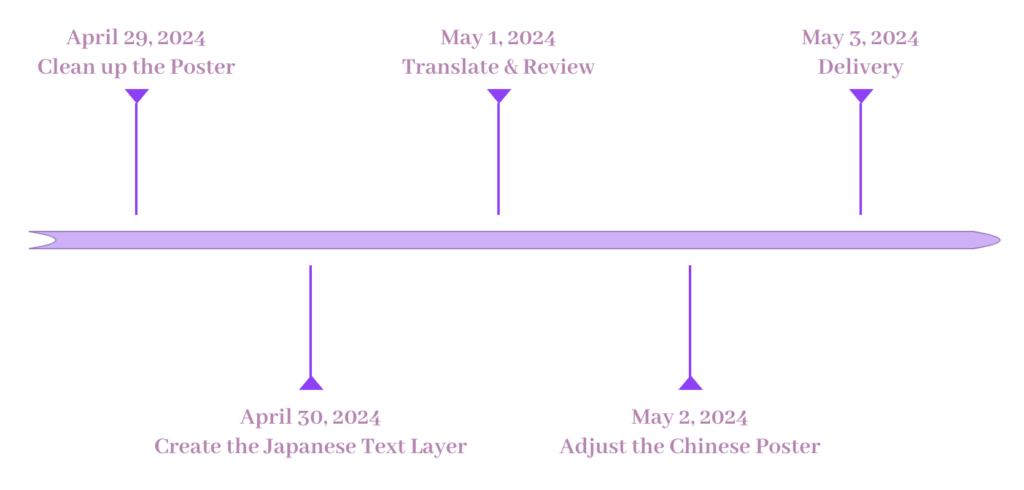
Since this is an individual project, there was no need for team collaboration. Therefore, the timeline for localizing the poster was as follows:
Localization Tool and Steps
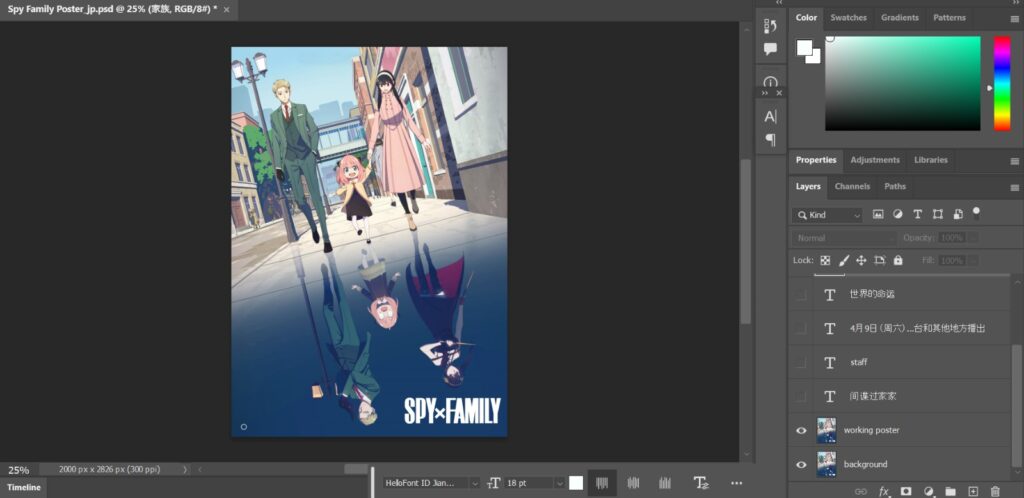
I used Adobe Photoshop to complete the poster localization project.
- Clean up
I found a JPG format image of the Spy × Family poster online and opened it in Photoshop, where I could see the image consisted of only one layer. I started by duplicating this layer, performing all the cleanup work on the new layer. This approach allowed me to preserve the original image as a reference.
For my project, I needed to translate the text content on the poster, so in my working poster layer, I removed all the Japanese text. I used two methods to do this:
1. I employed the spot healing brush tool to erase the text. This tool is great for removing marks and blemishes. The area in the bottom left corner of the poster, which includes the cast and crew list against a mostly solid background, was ideal for this tool, resulting in a clean effect.
2. The text at the top and right side of the poster was set against a more complex background with multiple colors, where the brush tool did not work well. Therefore, I used the marquee tool to select the text areas minimally, deleted these parts of the layer, and then filled them using the content-aware fill feature. The result was very effective, seamlessly removing the text even though the background was not a solid color.

- Create the Japanese Text Layer
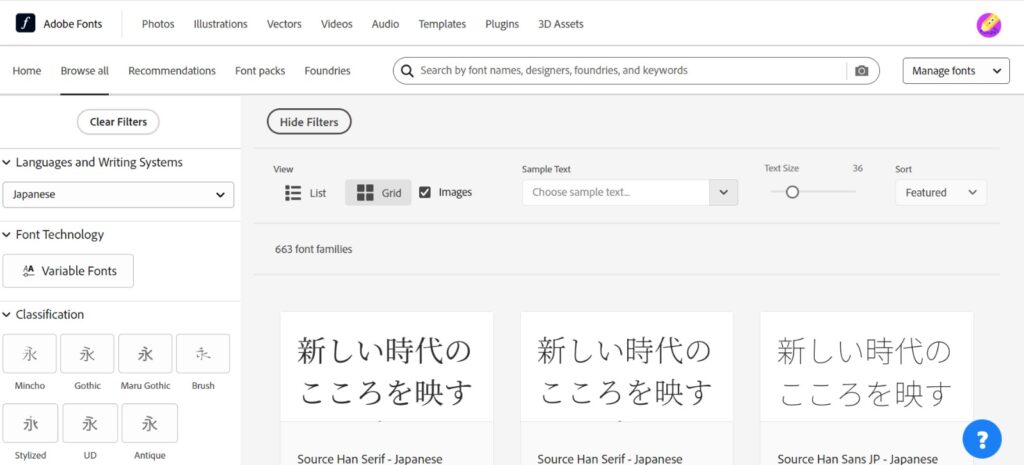
Theoretically, at this stage, I would need to replicate the original poster by adding the Japanese text back in. I spent some time in Adobe Fonts searching for similar fonts and created a new text layer. I aimed to make the working poster layer with the added text look as similar as possible to the background layer.
We can search for fonts according to languages in Adobe Fonts.
- Translate and Review
Here, I will explain why I mentioned the work “Theoretically” in the previous step. After creating the Japanese text layer, I could have uploaded the PSD file to Phrase to have it translated, then downloaded the PSD translated into Chinese and made further adjustments. However, since the amount of text on the poster was not significant, I chose not to use a TMS and translated the text myself. Therefore, I directly created a Chinese text layer on the cleaned-up layer.
- Adjust the Chinese Poster
In Adobe Fonts, I chose the HelloFont ID JianSong, which closely resembles the original Japanese font used on the poster. After importing the Chinese font, I made the background layer visible and began adjusting the Chinese text’s line spacing and font size while comparing it to the Japanese. I continued making adjustments until the Chinese text closely matched the original layout.
Being able to complete the localization of a poster for an anime I love has truly made me feel happy and fulfilled. I am continuously studying and learning more about Photoshop, and I hope that you, the reader of this article, will also share your experiences with Photoshop and localization with me! It’s always inspiring to hear how others engage with these tools and processes in their creative and professional journeys.

Read more about my website localization project:
Gourmet Journey in your Mother Tongue: Localize the Restaurant Chez Noir’s website